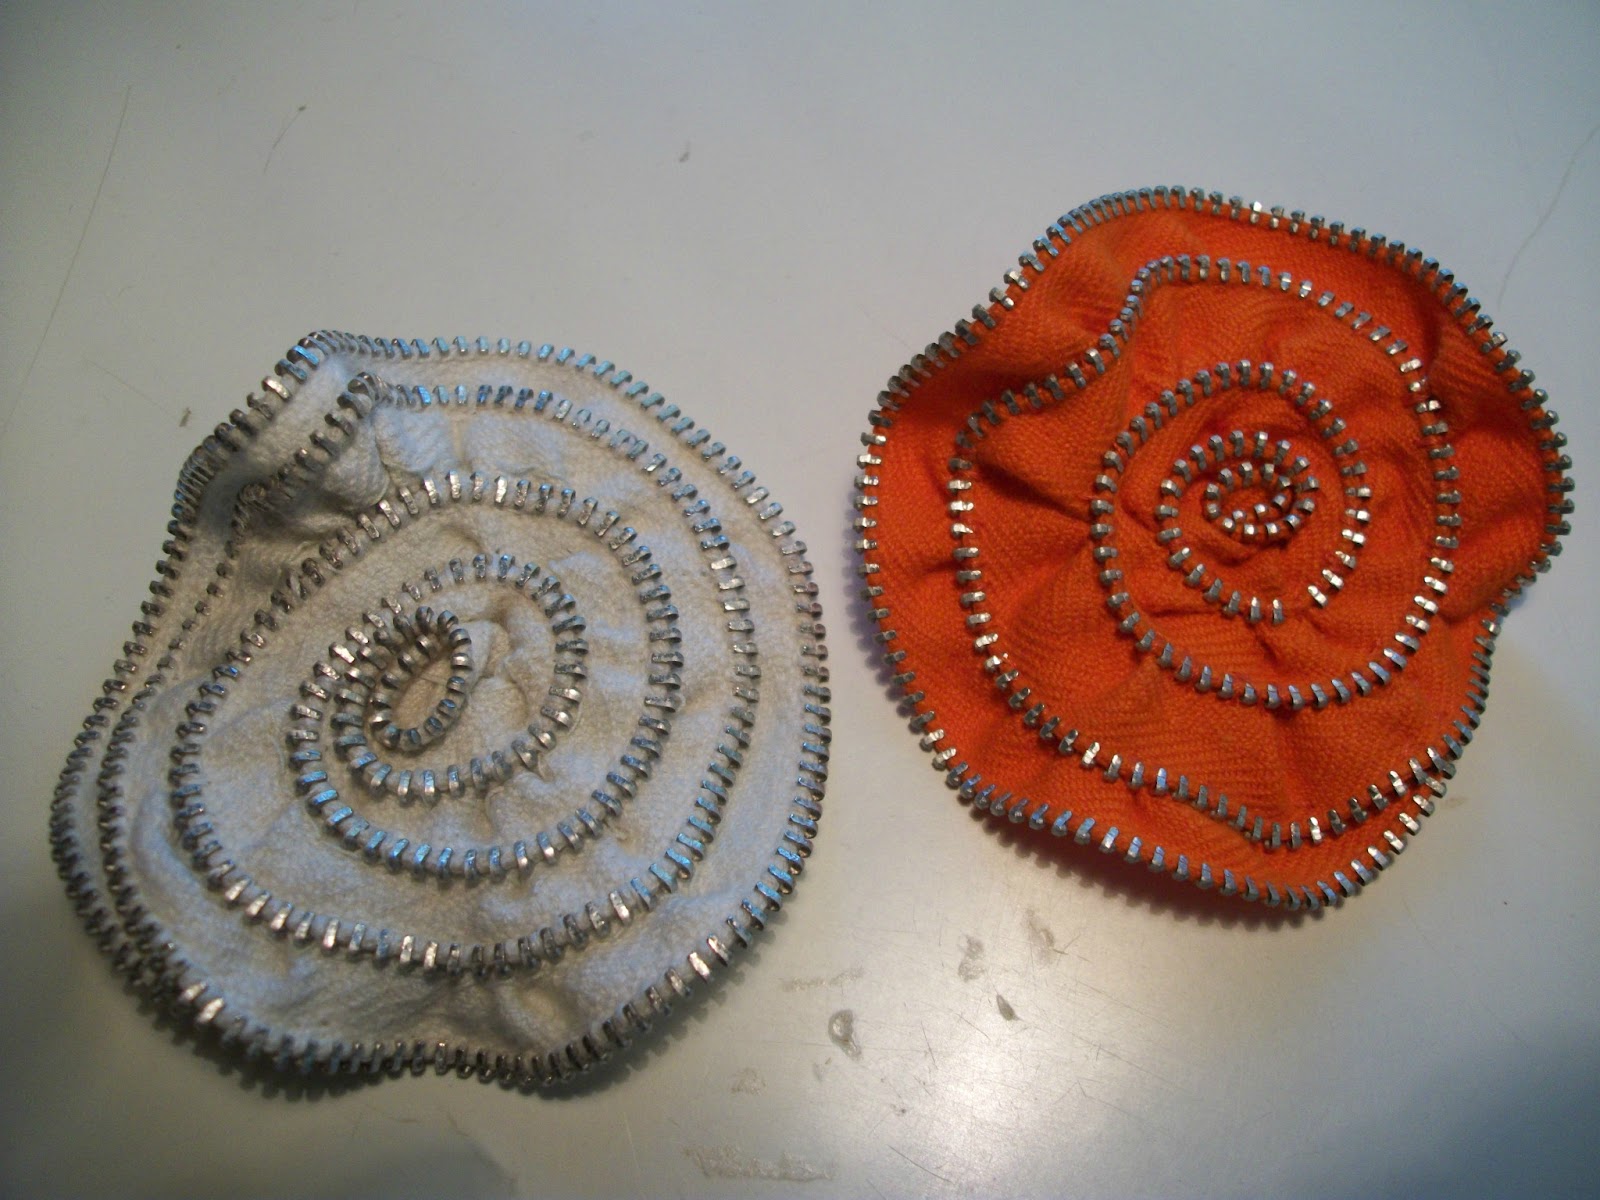
I love to have all my papers, cords, cards, lists, coins, coupons, etc. in their own little places.
I have some great little organizers on my Etsy site: ArtToWearByDee.etsy.com
Check it out, there are small shopping bag/store card holders that are perfect for today.
So many places now are discouraging or charging for bags, so now you can have your own bags, in the same place as your store cards. Whip out the card, whip out the bag.
Also I have a bag for your purse that unfolds into a larger bag for those unexpected shopping purchases. I use mine all the time. It's really funny, how many places I go to and buy a little something, but don't want one more plastic sack.
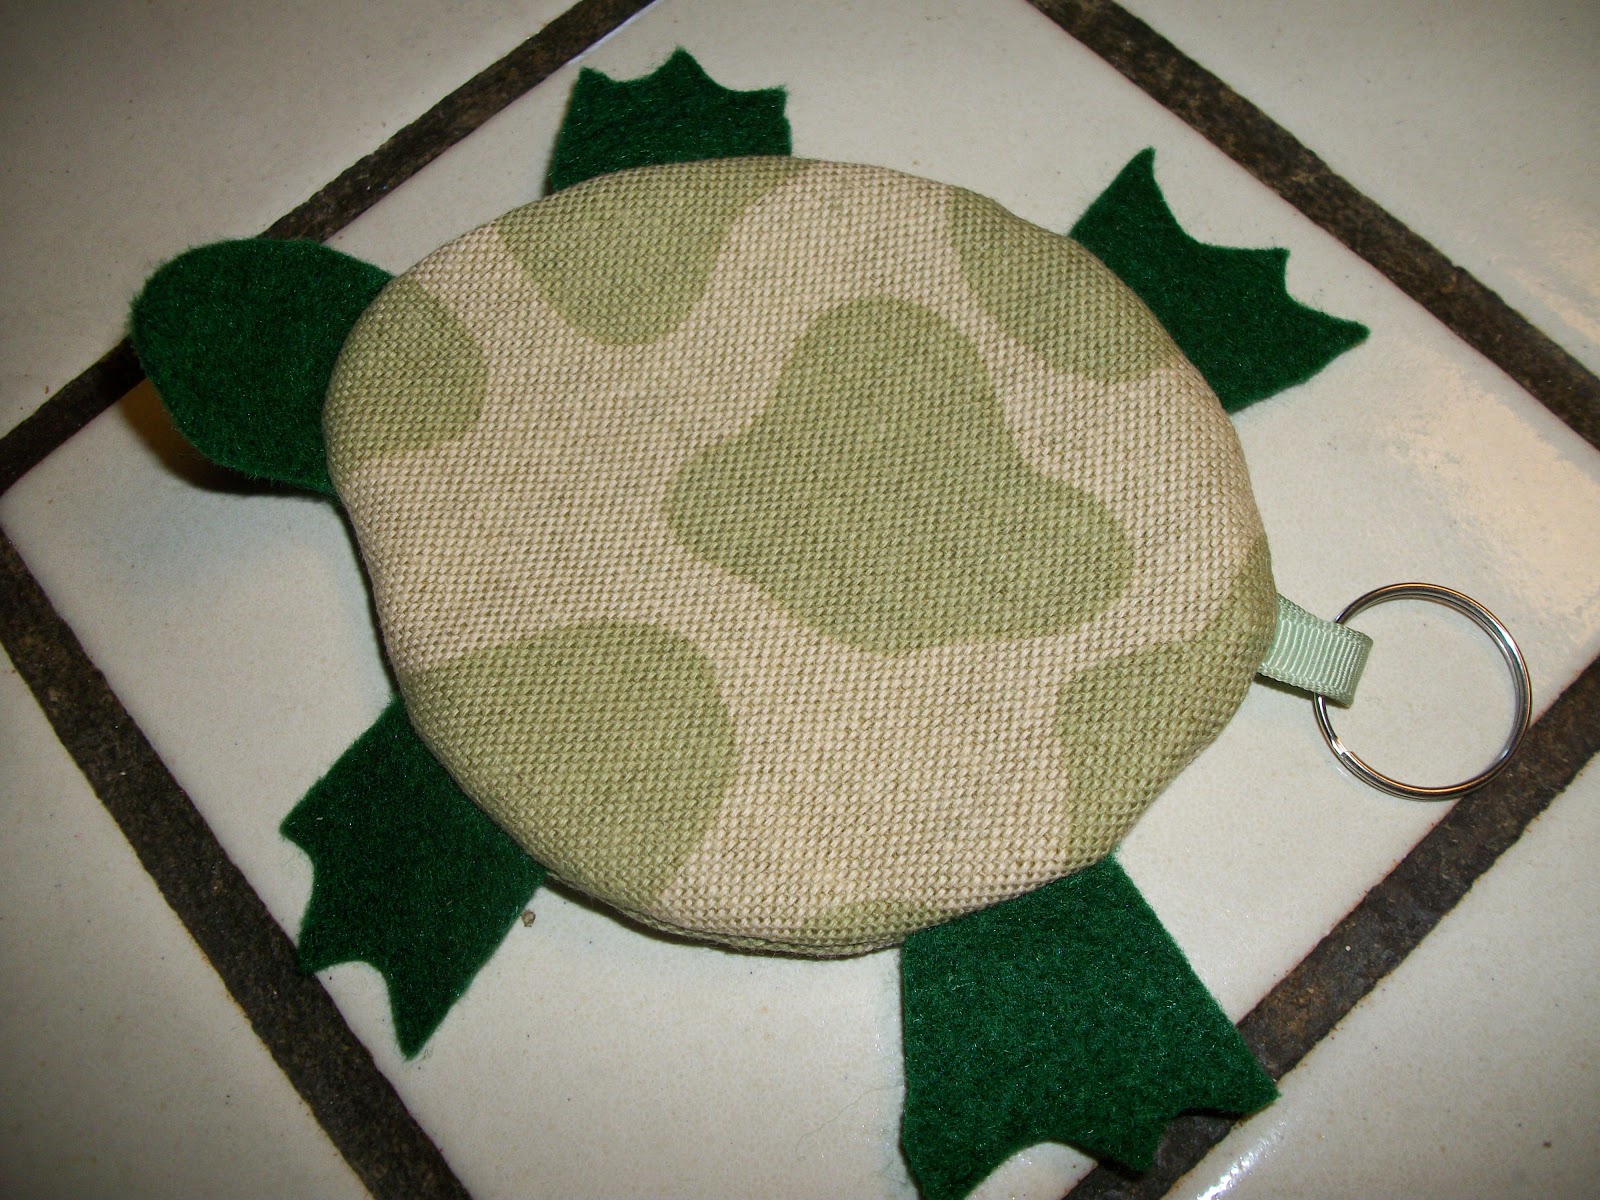
And now I have these adorable little turtle pouches perfect for your smaller goodies. Cell phone earbuds, or recharging cords. Or even change, charge cards, etc. They are so cute, you will want one to have just to look at.
Today's project:

You will need:
cotton fabric, scraps or recycled
zipper (can be taken from an old piece)
felt
2" ribbon
This will require some sewing knowledge. But once you get it down, you will be making these cute creatures by the dozen...
Get some fabric that is at least a foot across
fold in half and cut a circle out that is approx. 6" across. I used a small bowl to measure.
 You will take one of these circles and cut it in half. To these halves you will be sewing a zipper into them. Fold raw edge down and pin to zipper and then sew. If the zipper is longer, don't worry, we will cut off the excess later.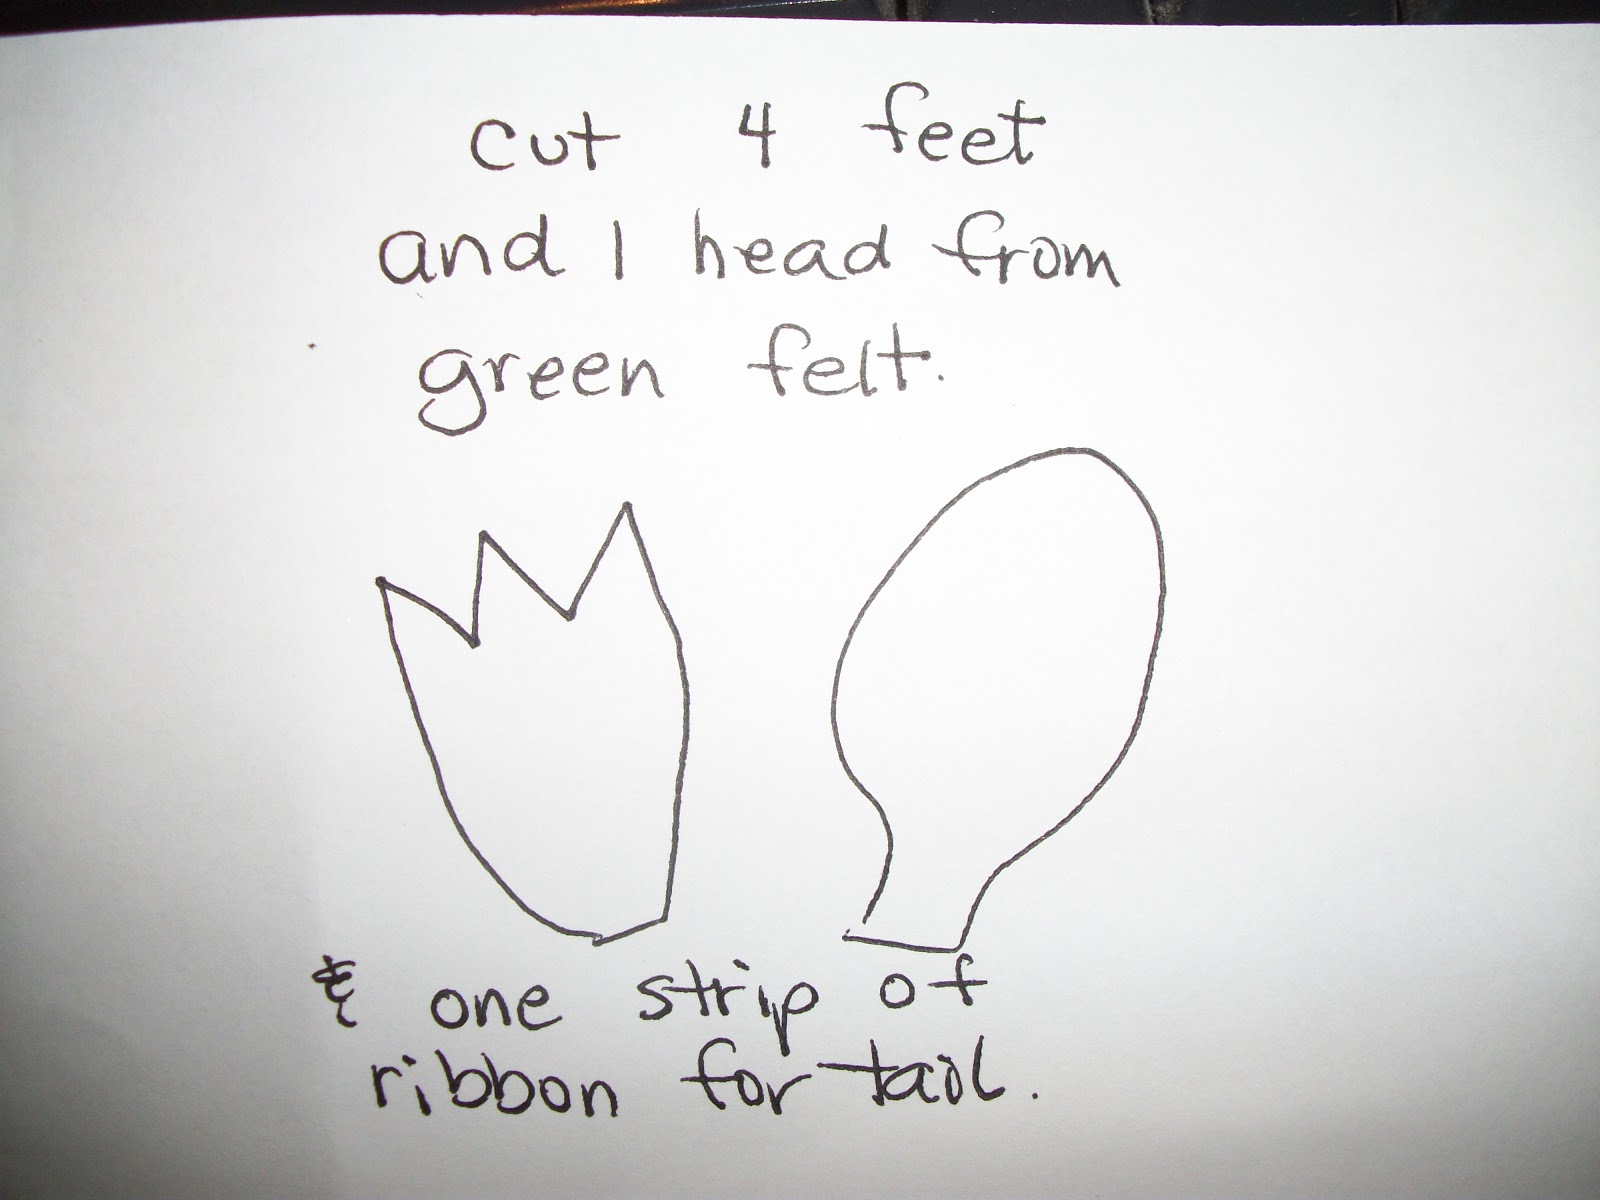
 Now you are going to cut felt pieces to look like legs and a head.
Now you will assemble the two body parts. Take the head and feet and place inside, the two big circles are facing each other with right sides in.

Don't forget the little ribbon piece that you will fold in half and place at the opposite end of the head. Folded end on the INSIDE of the circle.
You will be facing the feet inside, so when you turn this guy inside out, they will be sticking out. Also remember to open the zipper 1/2 way, or you will not be able to turn this turtle right side out. After you sew, cut off any ends of an extra too long zipper, using an old pair of scissors.
Then trim the raw edges and turn right side out.
It should look like this:
Tip of the day:
If your pencil's eraser gets all shiny and doesn't erase anymore, try to give it a bit of a filing with an emery board. This will shave off that shiny surface, and then you can erase that ONE little mistake you made (because you don't make a lot of them, right? :)
That's all for this week...
:D