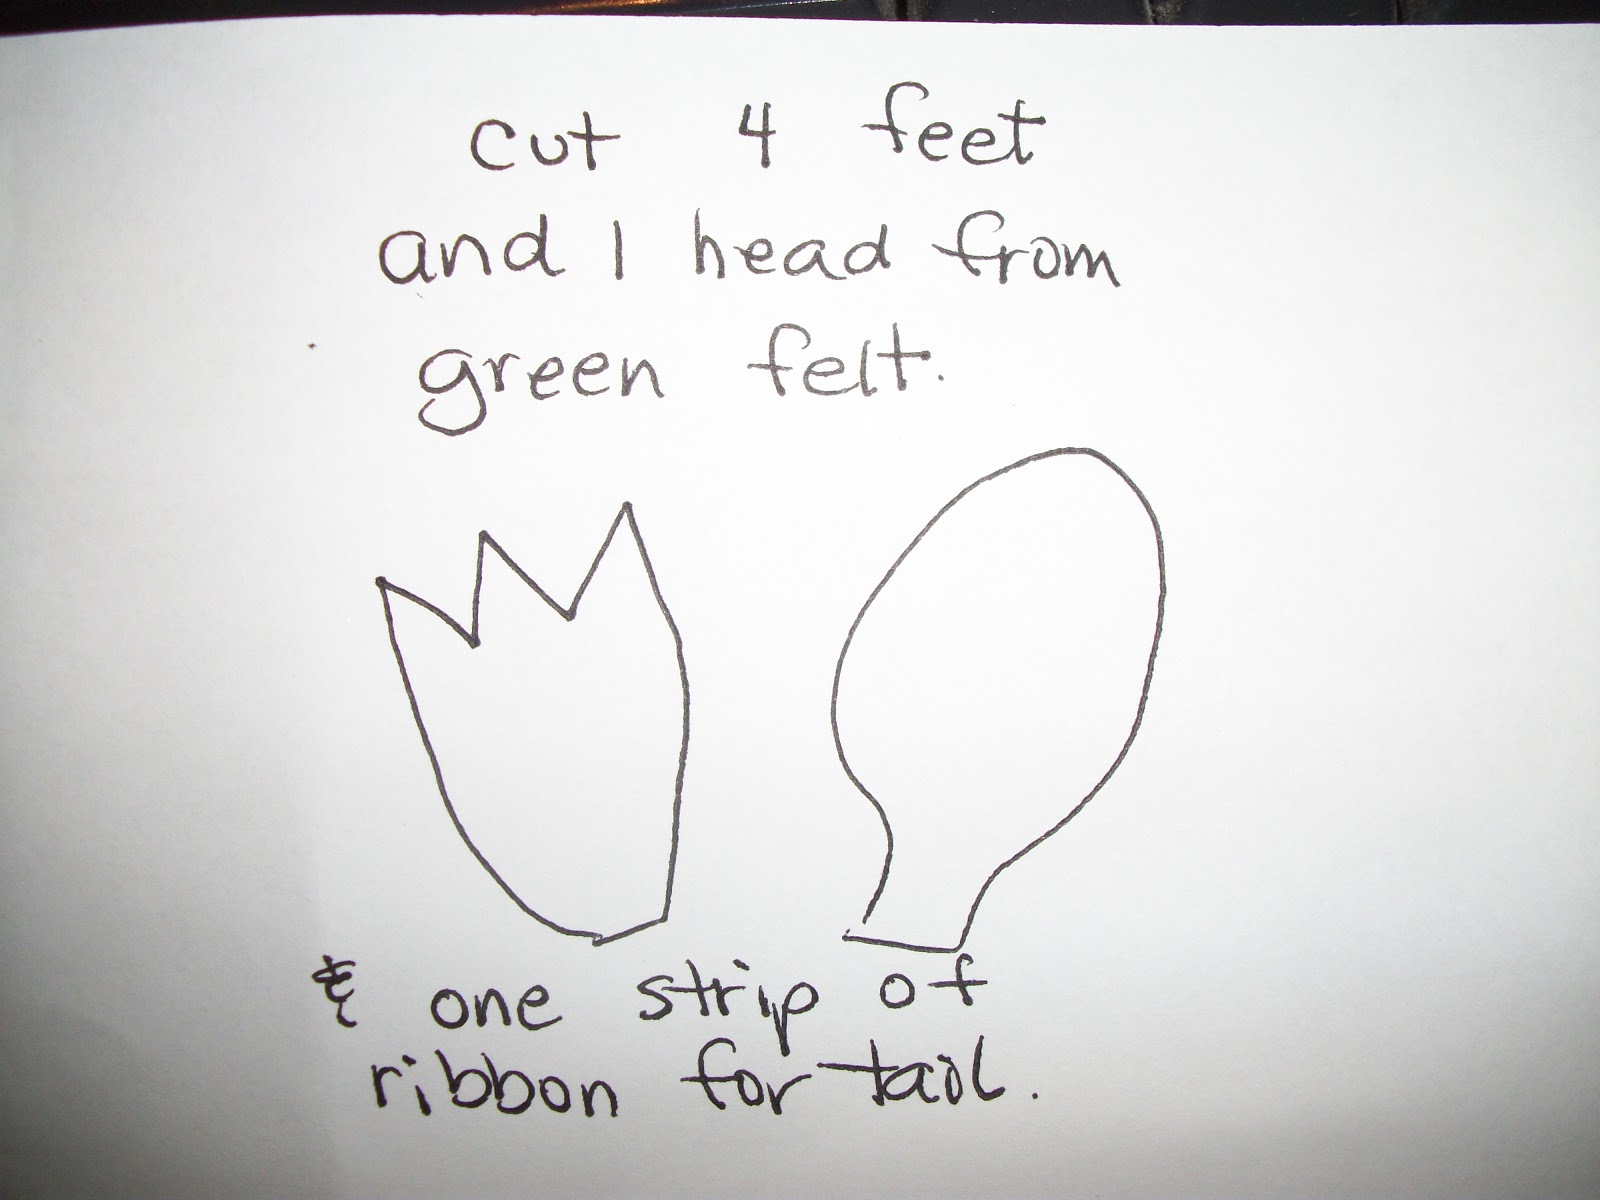
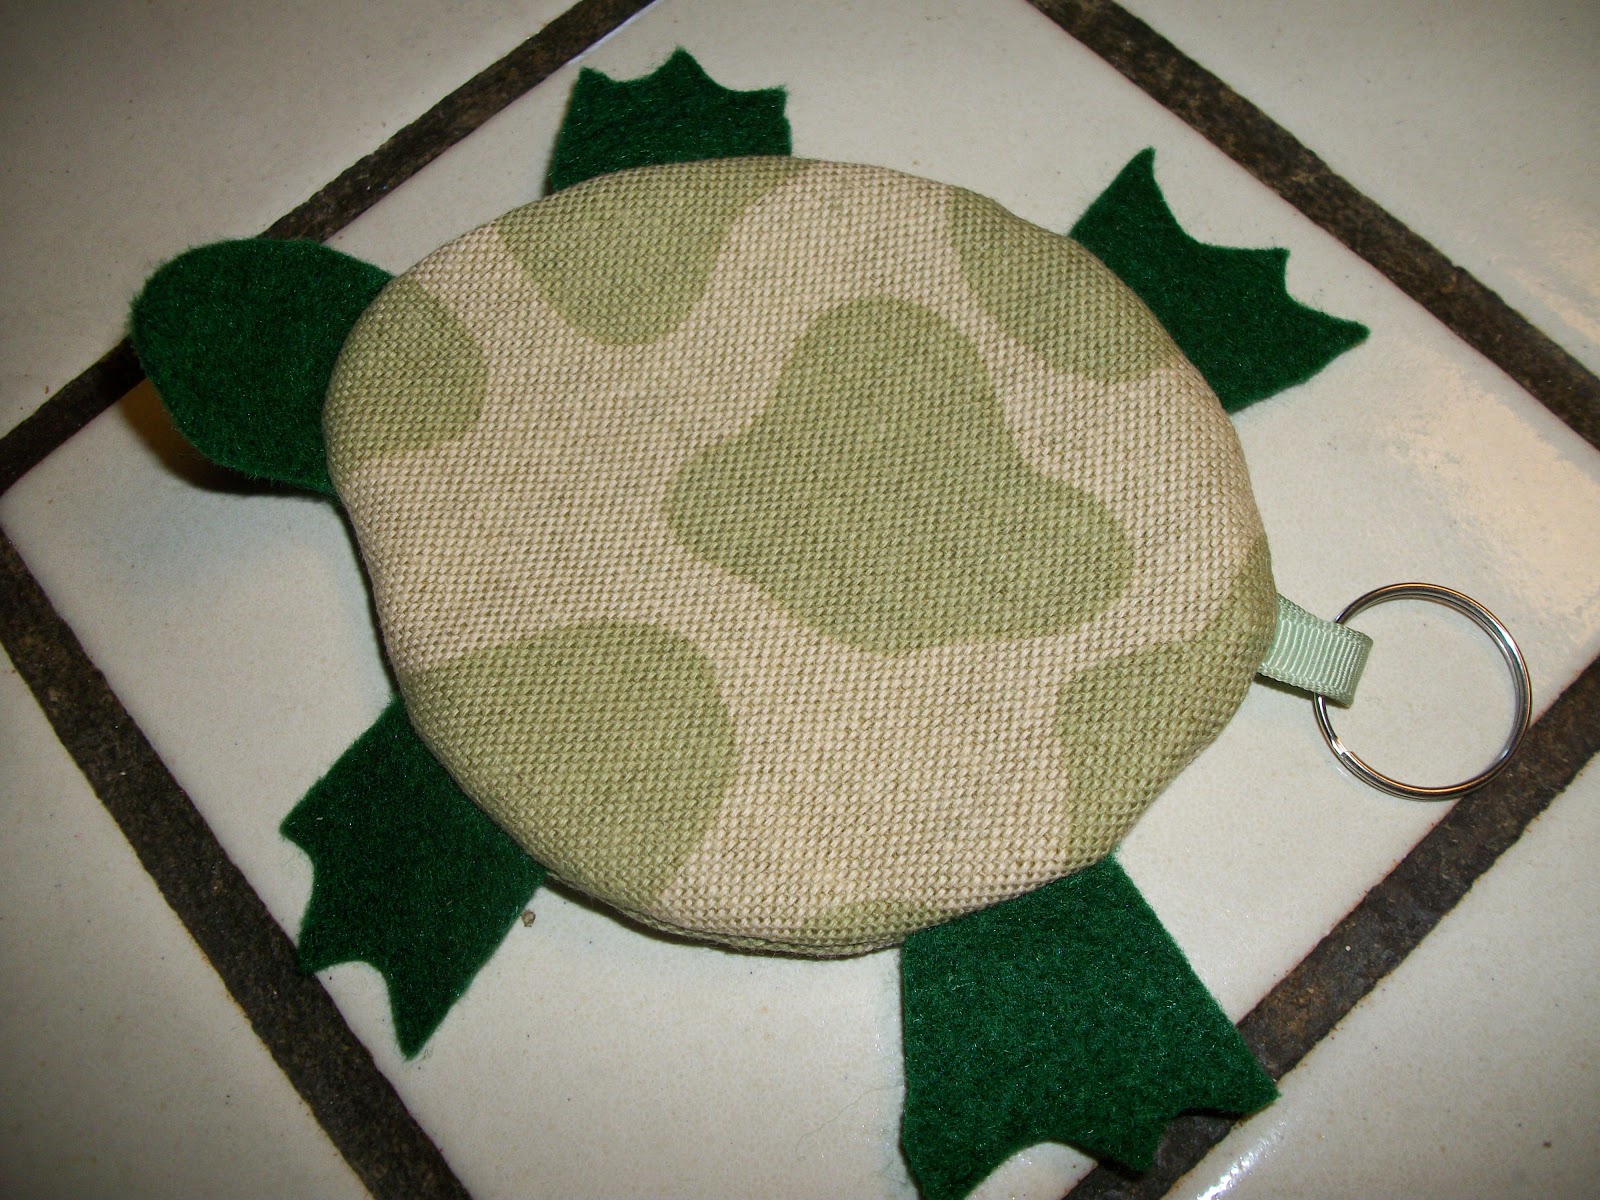
A couple of posts ago, I gave you directions to make a turtle.
And today it's going to be a ladybug. Both shapes lend themselves well to the round pouch. And they are soooo cute, I can't stop...
Today's project is:
Lady Bug Pouch

You will need:
black felt
red fleece, or red cotton fabric
black ribbon
black cotton fabric
black zipper
fabric glue
First you will cut 2 black circles, and one red circle. I used an old DVD. It's the perfect size to use as a template. Cut one black circle in half, and the red circle in half.

Iron a small 1/4" hem into the straight edge of the black fabric. This will be pinned, then stitched to the zipper. This is bottom of the bug.
Now if you have red fleece, there is no need to fold under the straight edge, but if you have plain cotton fabric, you should iron down the edge to the 'wrong' side of the fabric about 1/4 "
 With the red fabric, open slightly at an angle to look like ladybug wings and lay on the black circle. Right sides are both facing up. Now you will pin down and stitch along the straight edge of the red fabric. This is the top of the bug.
With the felt, you will cut out 6 small circles (about 1/2" wide) and one larger oval (about 2" long and 1" wide) for the head. Cut about a 1 1/2" length of narrow ribbon also.

With right sides together, you will "sandwich" the head inside the two body parts, with the bulk of the oval INSIDE. Make sure it is at the top, where the red fabric comes to a point. At the opposite end, fold the ribbon in half, and lay it INSIDE with the two ends peeking out.
At the illustration here.......^
I used a red zipper and ladybug fabric for the bottom. The black on black was too hard to see.
Plus, I trimmed the oval head, yours should be peeking out a bit more.
IMPORTANT: un-zip the the zipper so it is halfway open, before you sew around the perimeter! That way you can turn it right side out. Also, if you have a super long zipper, you can trim it now, with old scissors, if the teeth are metal. Never use your good fabric scissors to do this.
Stitch around the lady bug "sandwich", trim excess fabric outside of your stitch lines. Turn it right side out. Put a popsicle stick, or dull pencil, or chopstick inside the bug, and drag around the inside edge to ease the fabric out to it's fullest.
Now last touch is to glue the black felt circles onto the wings. If you want to wash this pouch in the future, you must use fabric glue that is washable. If you don't think you will be washing it, Tacky glue will work fine. I added a split ring onto the ribbon 'tail', but that's optional.
Now it's ready for anything you want to put into it. I use it for my cell phone recharging plug. My daughter uses hers for her earbud earphones. My other daughter uses it for her small sewing notions. Like replacable needles (see tip below)
I think you'll find lots of uses for the cute little guy.
tip of the day:
My friend Sheila, gave me a great tip for you sewing ladies. Different size needles have TINY numbers on them, sometimes very hard to read, so she puts different colors of nail polish on the ends, for the different sizes. You can brush a small dot on the side of your sewing machine and use a Sharpie Marker to write the needle size next to it. Or paint this on a piece of white cardboard and keep it with your needles. Happy sewing!
That's all for now...
:D