Showing posts with label sewn. Show all posts

Friday, April 26, 2013

Cat and mouse

I have a new cat since November. My old buddy passed away and a new baby found her way to us.
Her name is Sedona, and she has been adjusting to us and we to her. She is not like my old gal, but sweet in her own rite.
I do craft fairs, and the few things I always sell are 'cat' items. So today's project is for the cat lovers and their cats or friends who have cats...
today's project is:
Cat Nip Mouse
You will need:
gray felt, fabric scraps (4" square), 6" ribbon, cat nip, fiberfill stuffing
 
 Cut two pieces of fabric (I use cotton, something thin so the kitty can smell the cat nip through it).
Place them wrong sides together.
Cut two ears from the felt, about 1 1/2" long. Place them inside with the ends sticking out just beyond the seam line.
Place the tail inside the mouse with just the tip sticking out of the end. Pin.

Now sew three sides encasing the ears and tail. Turn right side out. Fill with about 4 teaspoons of dried catnip. Then stuff the rest with fiberfill.
Hand stitch the remaining side shut.
Your cat will LOVE this, just like mine....

tip of the day:
When doing laundry, make sure you unfold any pieces and also unfold and unfurl before throwing into the dryer.  I washed some napkins without unfolding them, and they came out of the dryer with the same folds in them. Telling me that perhaps they didn't get washed all the way inside.
That's all for now...
Dee


Friday, April 19, 2013

wine bottle gift bag


I have some great sewing buddies who pass on fabric. And I love to figure out ways to recycle it. I got a particularly fun batch of fabric samples that used to be attached to a large sample book.     
                                                                       They have two grommets in the tops and all four sides were serged and finished.  I figured out that the height was a perfect size to fit a wine bottle in. But what about those grommets... so what I did was use them to put a ribbon through to close up the gift bag around the neck of the bottle.  And to minimize the amount of sewing, I turned the top down, stitched a casing into which I threaded the ribbon. If you look at the photo at the right, you will see that the top part is a little different than the bottom part. That's because it's the 'inside' pattern of the fabric.
The ribbon comes out of the grommets and they give a nice finished touch to the gift bag. I also made four wine glass coasters to match the bag. So now when I go to someone's house for dinner, I can bring a bottle of wine in a gift bag that can be recycled over and over. But the coasters can be kept by the first recipient as a hostess gift.  The coasters were made by zigzagging a circle of heavier fabric. Then trimming away the outside close to the zigzag edge.
 
If you don't have access to fabric samples, but have some fabric that would make a nice bag, you can still make some simple cloth wine bottle gift bags very quickly and easily.
Measure the fabric 18" X 13", and a length of ribbon about 24" long. (The ribbon in this picture was a little too short, it was 18" and I couldn't tie a bow with it when I finished. So I would rather have a longer piece) Fold the top down 3" toward the wrong side. Fold the ribbon in half and tuck it inside with the folded end extending out a little bit.
Sew up the bottom and up the long side, catching the ribbon into the seam. You don't even have to hem the top down. Because it will be hidden inside. Turn the bag right side out. Put your wine bottle in, take the ribbon ends, wrap around the bottle and tie. And tell your hostess that she could pass on the gift bag to THEIR next dinner party hostess.
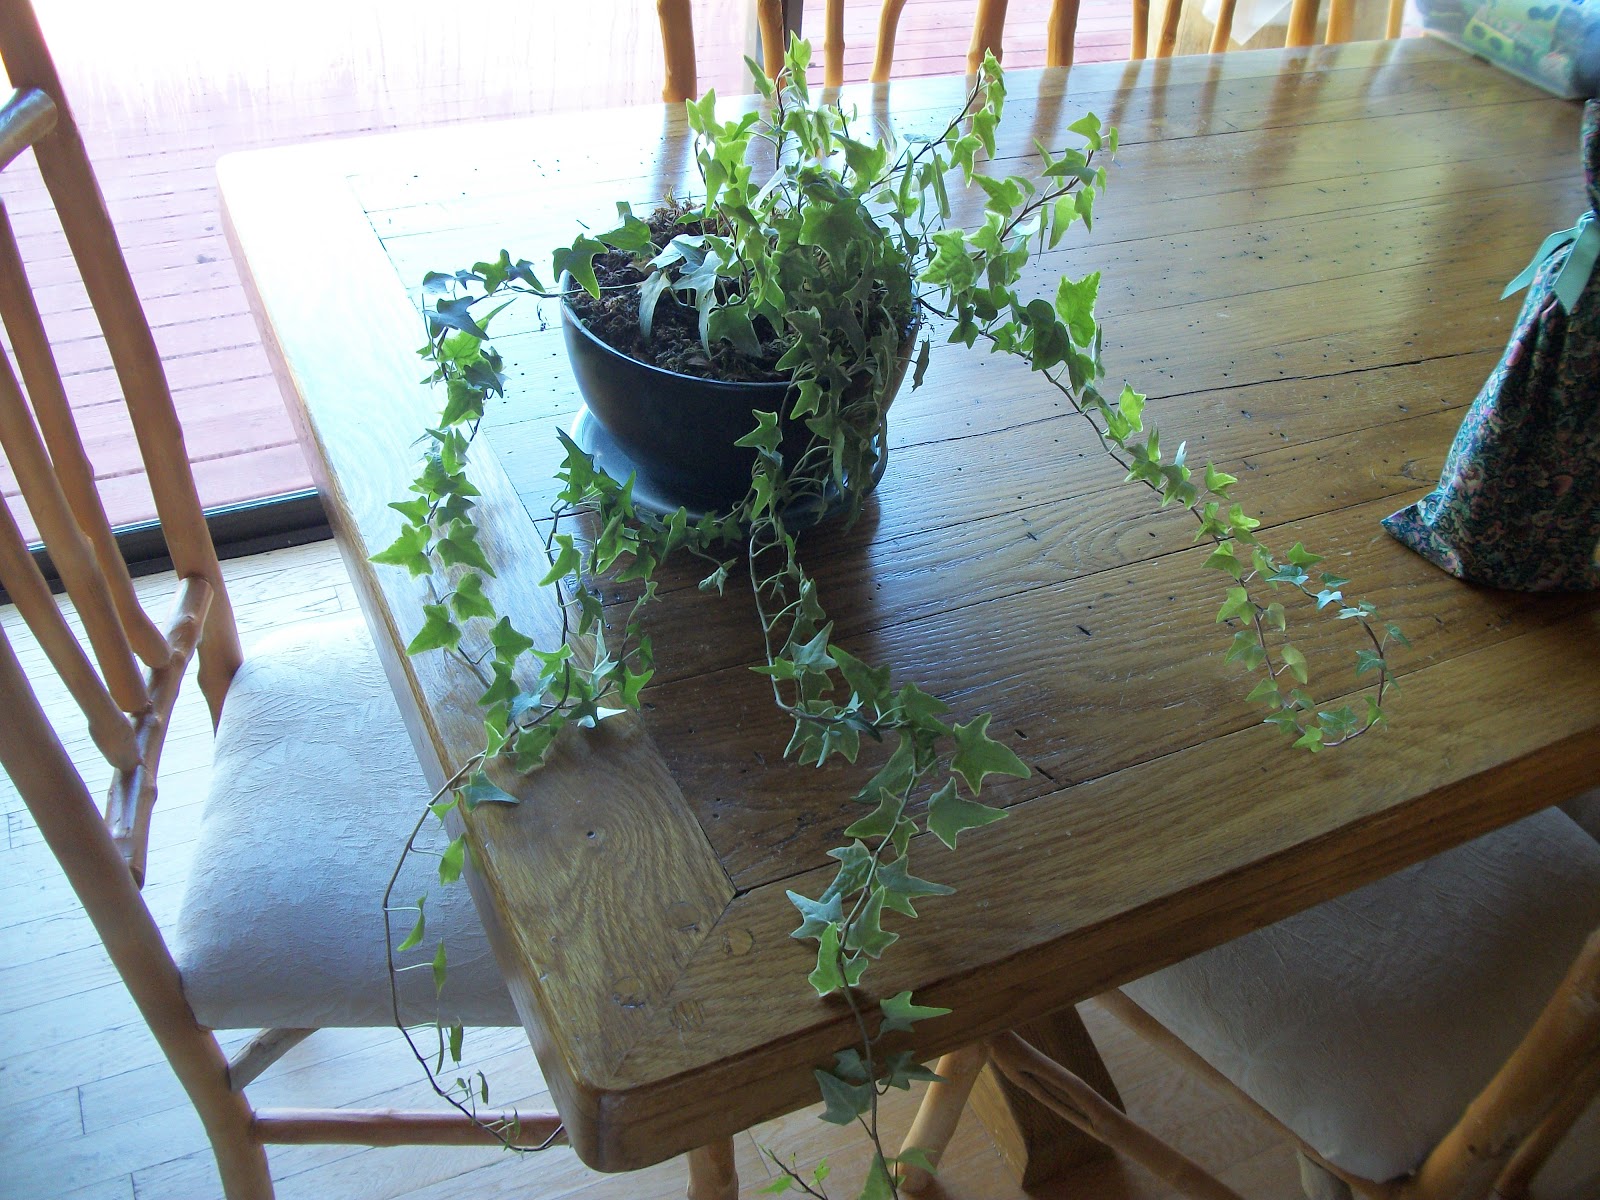
tip of the day: I have an ivy plant which is getting a bit leggy. So I took a wire clothes hanger, curved it into a circle, straightened out the hook and stuck it in the middle of the pot. Then I wound the ivy around the circle to create a faux topiary.
That's all for now...
Dee

Friday, February 8, 2013

bottle gift bag

I was given a bag full of fabric samples, and each one had two grommets in them. So I put my brain to work, and came up with today's project of recycled fabric...
This can be used with wine bottles, olive oil, or flavored vinegars. It's a great hostess gift

Wine Bottle gift bag
you will need:
fabric, ribbon (about 18"), sewing machine or hand stitching

The sample was the perfect size for a wine bottle. But you could use these for olive oil or flavored vinegar, etc.  But the problem was that the grommets were too close to the top.  So I folded down the top and stitched the bottom edge. Also I stitched 1 inch above this to form a casing to put the ribbon through.

Then turn it inside out, and stitch along the side and bottom. Turn inside out and then take a ribbon, add a safety pin onto the end, and feed it through one of the grommets until you come to the second grommet and come out. Pull ribbon through until the ends meet.

When you go to a friend's for dinner, or for a special occasion, put a nice bottle of wine in here, tie ribbon tightly with a bow, and surprise your hosts with a wonderful, REUSABLE, bag. Or when you go to BYOB gathering, you can transport your wine in style. White, chilled wine will stay cooler longer and as it 'sweats' the bag will help with that.

(IF you don't have samples with grommets, you can use a piece of fabric, cut 15" x 13". Fold down the top, double and stitch a nice clean edge. Fold 'right sides in' and catch a ribbon, that has been folded in half, as you sew the side seam so when you turn it inside out, the ribbon will stick out and you can tie it up that way.)

today's tip is:
keeping a package of floss in your purse can come in very handy. Not only can you keep your teeth clean after meals out, but I have needed a string to tie something with in a pinch, and floss is strong and handy.

That's all for now...
Dee

Friday, February 1, 2013

Holy Pantelony

I have a favorite pair of jeans that I wear all the time. And unfortunately they have finally started to rip. Now I know, the rip and holes and frayed parts of jeans are popular right now. In fact, you buy them with the worn out parts already made. That's not for me. I tried wearing them with the long rip in the knee for a week, and couldn't get used to it.
So I am going back to the 70's
(in fact, fashion repeats itself every 20 years, so all this stuff if back 'in')
I had a pair of jeans that had so many embroidered designs on them, it was hard to find the denim.
Just kidding, but really hand sewing and embroidery are making a comeback. So today's project is right in time for...the time!

today's project is:
Embroidered jeans

Whether the rip is long, or wide or small, you can camophlage the area with a cute embroidered design. Mine was a long rip, so I chose a long stemmed flower to cover up the opening.
You will need:
embroidery thread, needle, scissors

When you buy the thread, it comes in 6 strands. You usually would separate this into two 3 strands each. If you slowly separate the threads (with the main unit squeezed between your knees) slowly pull the parts apart. Then thread the 3 strands onto the needle (with a larger eye) and knot the end (thread should be about 18").
Starting from the inside of the rip, work your up grabbing each side of the rip as you go keeping your stitches close to each other.
If you run out of thread, knot inside the pant leg.  And then start again until you have the opening covered. Be creative, use vines, birds, hearts, flowers, whatever! It is so much prettier than a gaping hole in your jeans!

tip of the day:
use your dryer sheeet to clean out the lint trap. This is important as too much lint build up can start a fire! eeks!
that's all for now....
Dee

Saturday, August 25, 2012

Cat-titude

 
I have a cat. It was my daughter's cat that she rescued back in 2002. We never knew how old she was. But Dana discovered that her landlord said "no pets". Sooooo, I ended up with her. Her name is Taavi. Which is a name that Dana learned from a book of Estonia tales, that her grammy gave her. But as it turned out, this female cat ended up with a 'boy' name. Because Taavi means David.
 
Anyway...we had several cats at the time, and she did not get along with any of them. So she ended up inside, and the others were exiled outside. This princess attitude (Cat-titude) fit her perfectly, and she has been the one and only ever since.
 
Now Taavi is getting very old. She is our only pet now. She's lost weight and when you pet this 'purr machine', you can feel every rib. It's becoming clear that her life is coming to an end. She wants attention constantly, doesn't have much energy, and hides in corners. This makes us very sad, but she has had a good life. But saying goodbye to 'ANYONE OR ANYBODY' has been a tearful, terribly sad situation for me and I am crying now just thinking about it.
 
So this post is for our sweet kitty, with an attitude.
Today's project is:
 
SOCK KITTIES with attitudes.
 
You will need: kid socks, stuffing, needle and thread, and embroidery floss.

As you see in the picture, the cat's muzzles are the 'heels' of the socks. and their legs are the 'opening' of the socks.  You will need to machine stitch or hand stitch legs.
 
Turn the sock inside out. Cut a curve shape above the 'heel'. Sew two leg shapes from the opening. Cut the legs apart. Then stitch the top (head and ear) closed.  Now cut a small slit under the muzzle to allow you to turn the sock right side out.

Stuff the sock and stitch closed the opening. This part I embroider over with pink thread in a heart shape. Thus you have no obvious stitched closure.

Now is the fun part. Making the attitude of the kitty by sewing arms that will end up in pockets.
Take white thread, and stitch through the sides of the kitty. Each one will end up differently. That's the great thing. They have their own personalities. Stitch black embroidery thread for a face. and any color for pockets.

I use an extra long needle for easier sewing through the bodies.

tip of the day:
While I was facing painting at our local community picnic, I got three spots of green paint on my white linen shirt. Egads, I tried everything to get it out. But to no avail. So I resorted to my secret weapon...White Out.  Yes, I put a drop of white out on the spots, and it covered them beautifully. I have washed this shirt several times, and this crazy stuff has never come off. (So what does that tell you if you accidentally get it on other stuff...don't!)

That's it for now...
:D