 I have some great sewing buddies who pass on fabric. And I love to figure out ways to recycle it. I got a particularly fun batch of fabric samples that used to be attached to a large sample book.
They have two grommets in the tops and all four sides were serged and finished. I figured out that the height was a perfect size to fit a wine bottle in. But what about those grommets... so what I did was use them to put a ribbon through to close up the gift bag around the neck of the bottle. And to minimize the amount of sewing, I turned the top down, stitched a casing into which I threaded the ribbon. If you look at the photo at the right, you will see that the top part is a little different than the bottom part. That's because it's the 'inside' pattern of the fabric.
The ribbon comes out of the grommets and they give a nice finished touch to the gift bag. I also made four wine glass coasters to match the bag. So now when I go to someone's house for dinner, I can bring a bottle of wine in a gift bag that can be recycled over and over. But the coasters can be kept by the first recipient as a hostess gift. The coasters were made by zigzagging a circle of heavier fabric. Then trimming away the outside close to the zigzag edge.
If you don't have access to fabric samples, but have some fabric that would make a nice bag, you can still make some simple cloth wine bottle gift bags very quickly and easily.
Measure the fabric 18" X 13", and a length of ribbon about 24" long. (The ribbon in this picture was a little too short, it was 18" and I couldn't tie a bow with it when I finished. So I would rather have a longer piece) Fold the top down 3" toward the wrong side. Fold the ribbon in half and tuck it inside with the folded end extending out a little bit.

 Sew up the bottom and up the long side, catching the ribbon into the seam. You don't even have to hem the top down. Because it will be hidden inside. Turn the bag right side out. Put your wine bottle in, take the ribbon ends, wrap around the bottle and tie. And tell your hostess that she could pass on the gift bag to THEIR next dinner party hostess.
 tip of the day: I have an ivy plant which is getting a bit leggy. So I took a wire clothes hanger, curved it into a circle, straightened out the hook and stuck it in the middle of the pot. Then I wound the ivy around the circle to create a faux topiary.
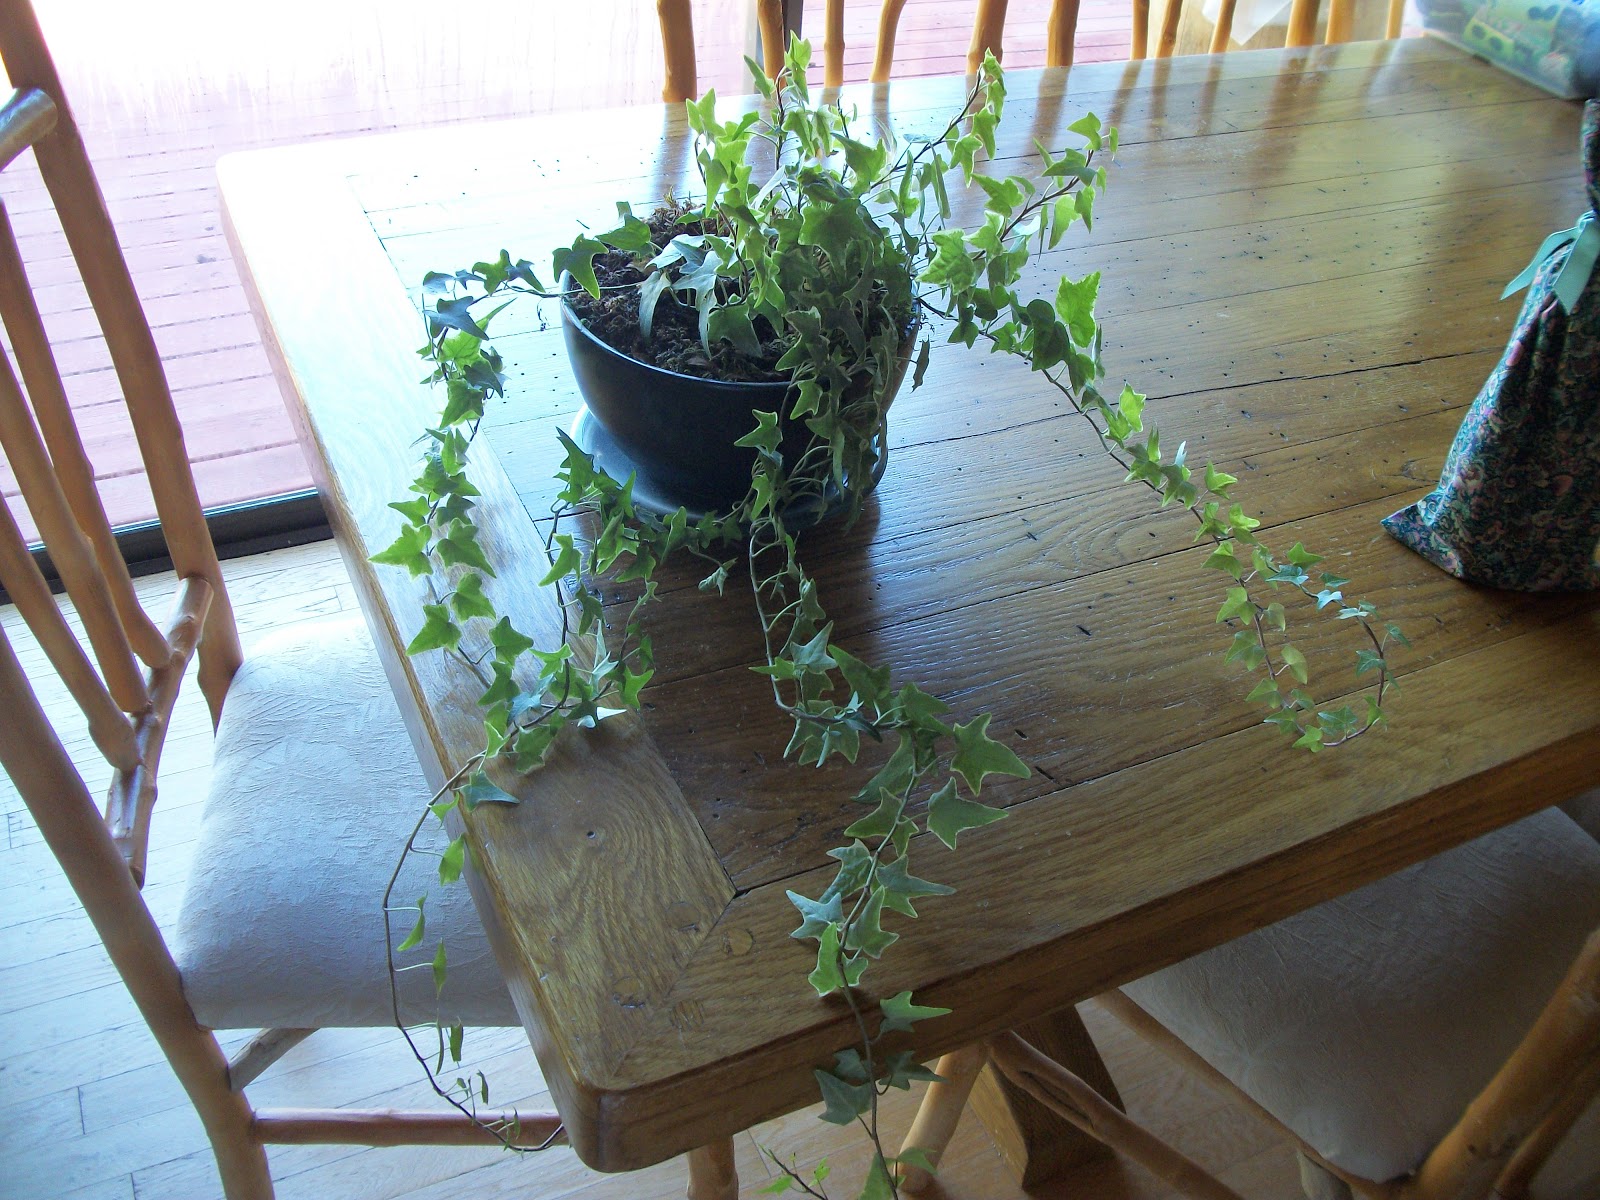
 That's all for now...
Dee


